How to Use Silicone Repair Glue for Lasting Repairs?
Silicone Repair Glue offers a practical way to restore flexible, water-resistant surfaces at home or in the workshop. It can seal small cracks, reattach loose edges, and repair gaps around rubber, glass, ceramic, and selected plastics. The result depends on more than squeezing glue onto a damaged area. Surface condition, product chemistry, joint movement, and curing time all matter.
A reliable repair begins with careful preparation. Remove dust, grease, old adhesive, and moisture using suitable cleaning methods. Let the surface dry completely. A narrow bead often works better than a thick layer, because excessive glue may cure unevenly. Press the parts together gently, then support them with tape or clamps if needed. Follow the manufacturer’s instructions, especially for ventilation, temperature, and full curing time.
Patience matters.
In practical repairs, early handling is a common mistake. The outer skin may feel firm while the center remains soft. That detail is easy to overlook. Testing a small hidden area can also reveal poor adhesion, staining, or surface damage before the main repair begins. Silicone Repair Glue is not universal, and it may perform poorly on oily materials, heavily stressed joints, or surfaces requiring structural strength. My own repair attempts have shown that a neat appearance does not always indicate a durable bond. This guide explains how to choose, apply, and evaluate the adhesive with realistic expectations, clear safety habits, and attention to long-term performance.
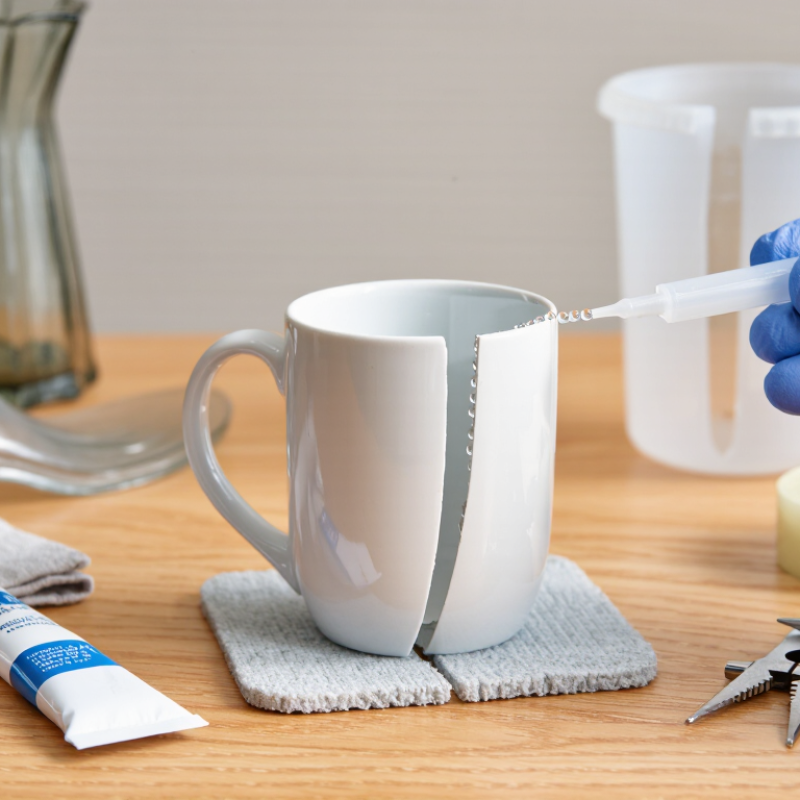
What Silicone Repair Glue Is and When to Use It
Silicone repair glue is a flexible adhesive or sealant that cures after exposure to moisture. Unlike rigid super glue, it remains slightly elastic after drying. This flexibility helps it handle movement, vibration, and temperature changes. It is commonly used on silicone seals, rubber edges, glass joints, ceramic surfaces, and selected plastics. However, compatibility varies. Check the product instructions and test a hidden area first.
Use it when a repair must remain flexible and resist water or everyday humidity. Typical jobs include resealing a shower edge, repairing a soft gasket, patching a small outdoor cover, or securing a loose cable grommet. It is not suitable for every problem. Avoid relying on it for heavy structural loads, high-pressure pipes, or surfaces exposed to extreme heat. Products for food contact, drinking water, or medical use require specific certification.
Good preparation often decides the result. Remove old residue, wash away grease, and let both surfaces dry completely. Apply a thin, even bead, then press the parts together without squeezing out all the adhesive. Allow full curing time; the surface may feel dry while the center remains soft. I once rushed a seal because it looked finished, and moisture returned within days. That mistake still matters. Silicone can also bond poorly to dusty or oily surfaces, so a small trial repair is worth the extra minute.
How to Prepare Surfaces for Silicone Glue Repairs
Silicone repair glue can form a flexible, durable seal, but surface preparation determines whether it lasts.
In my repair work, most early failures came from dust, oil, or trapped moisture. Begin by removing loose material with a plastic scraper. Wash the area with mild detergent and clean water. Rinse away every soap film. Let it dry completely.
A dry surface matters more than a thick glue layer. For glass or glazed ceramic, wipe the final area with isopropyl alcohol, if the material tolerates it. Test a hidden spot first. Some plastics become cloudy or brittle after solvent exposure.
Roughen smooth, nonporous surfaces lightly with fine abrasive paper. Do not scratch visible finishes unnecessarily. Silicone needs a clean grip, not a damaged one.
Check the repair edges before opening the tube. They should meet without pressure or movement. Remove old silicone fully, because fresh material may bond poorly to cured residue. Use a clean, lint-free cloth, and avoid touching prepared surfaces with bare fingers.
I often mark the glue path with low-tack tape. This keeps the bead narrow and reduces cleanup. Apply a steady bead, then press the parts together gently. Too much pressure can squeeze out the flexible layer.
Follow the product’s curing instructions, especially in cool or humid rooms. The surface may feel dry while the center remains soft. Leave the repair undisturbed.
I have rushed this step before, and the joint failed overnight. That mistake still changes how I plan repairs.
When materials are unknown, test adhesion on a hidden sample first. Some surfaces resist silicone, even when they look perfectly clean.
How to Apply Silicone Repair Glue Step by Step
Silicone repair glue can restore seals, flexible joints, and small household gaps when applied carefully. I have found that preparation affects the repair more than the glue itself. Remove dust, grease, loose silicone, and moisture with a clean cloth. Let the surface dry completely. Even a small water film can weaken adhesion.
Test compatibility on a hidden area first. Some plastics and painted surfaces react poorly. Wear gloves and keep the room ventilated.
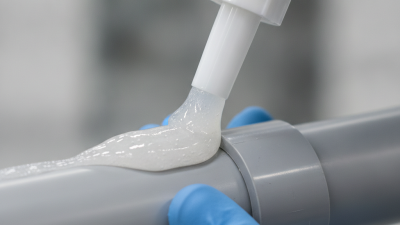
Cut the nozzle at a narrow angle, then apply a steady bead along the damaged edge. Use a damp tool or gloved finger to smooth it gently. Do not spread the glue too thin. It needs enough material to bridge the gap, but thick layers may cure slowly.
I once rushed this step and trapped an air pocket beneath the seal. The repair looked neat, yet it failed after several days.
Keep the joined surfaces still during curing. Follow the product’s curing time, and allow extra time in cool or humid conditions. Avoid touching the area too soon. Check the seal by pressing lightly, not by pulling it apart. If the bead feels soft, wait longer.
Clean excess glue before it skins over, because cured silicone is harder to remove. For a deep crack or stressed joint, one thin application may not be enough. A second layer can help, but only after the first layer has cured properly.
How to Cure and Test a Silicone Glue Repair
Silicone repair glue needs time, clean surfaces, and controlled moisture. Remove dust, grease, and loose material before application. Keep the bond line thin and even. A thick blob may skin over while remaining soft underneath. Most room-temperature silicone adhesives cure through moisture in the air, often at about 2–3 millimetres per 24 hours. Low humidity, cold conditions, or deep gaps can extend curing beyond 72 hours.
Do not trust the surface alone. Press a clean wooden stick gently against an excess bead beside the repair. If the material feels elastic and leaves no wet residue, curing has progressed. Wait longer if it feels tacky. Then perform a gradual hand test, not a sudden pull. Apply light pressure, inspect the edges, and watch for whitening, lifting, or new cracks. For critical joints, use a controlled strength test based on ISO 8339 or the relevant ASTM method. These standards remind users to assess adhesion, elongation, and failure mode, rather than relying on appearance. A 2024 Grand View Research report estimated the global silicone adhesives market at over 3 billion US dollars, reflecting wider use in construction, electronics, and transport. However, market growth does not make every repair reliable. I once underestimated trapped moisture beneath a patch. It failed later. Record curing time, temperature, humidity, and test results for repeatable repairs.
How to Maintain and Troubleshoot Repaired Areas
How to Use Silicone Repair Glue for Lasting Repairs?
A repaired silicone joint needs care after curing. Keep the area dry for the time stated in the product instructions. Do not press, stretch, or clean it aggressively during this period. A clean surface matters more than applying extra glue. Remove dust, grease, and loose material before inspection. The U.S. Department of Energy reports that proper air sealing can reduce household heating and cooling costs by 5–30%. Small gaps deserve attention.
Maintenance should begin with a monthly visual check. Look for lifted edges, tiny cracks, discoloration, or trapped moisture. Press the repaired area gently with a dry cotton swab. It should feel stable, not soft or separated. ASTM C920 evaluates sealants for adhesion, flexibility, and aging performance, but real conditions remain unpredictable. Temperature changes, vibration, and repeated water contact can shorten service life. I still inspect every repair twice. That habit is not perfect.
Tips: Dry the surface before testing it. If water enters, remove the loose section instead of covering it. Reclean the exposed edges, allow complete drying, and apply a narrow replacement layer. Smooth it with a damp tool, then leave it undisturbed. Avoid household solvents unless the surface manufacturer permits them. A failed repair may reflect poor preparation, not weak glue. Take a close photograph during each inspection. It makes gradual movement easier to notice.